Here's the sequence of logging in and connecting to an Elastic COBOL cloud-based instance. After registering and logging into the Portal tab, click the "Power On" button next to the version of Elastic COBOL you've signed up for. "Power On" is replaced with "Provisioning" and, after a few minutes, changes to "Connect".

The Portal may wait a few minutes before presenting a "Click to Connect" button as your cloud instance is being prepared.

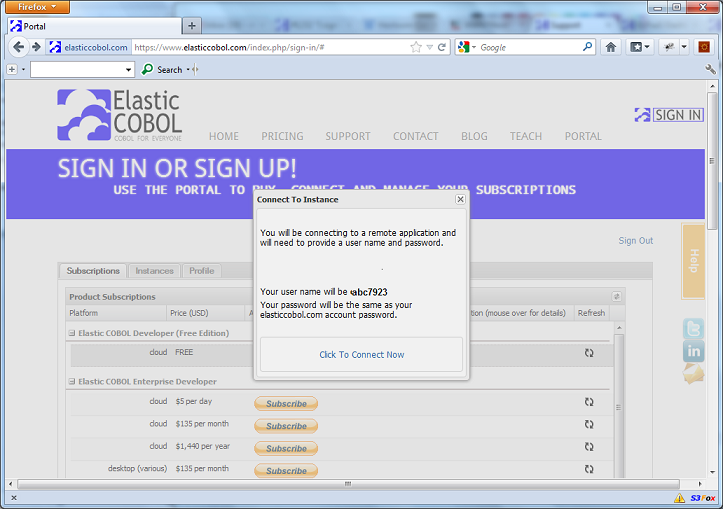
When the instance is ready the dialog box will remind you to log into the IDE with your registered user id (without the @domain.com part) and your password. Click "Click to Connect Now".
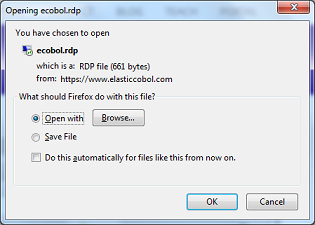
The next step depends on the browser you are using and the operating system you are on. A file is downloaded which contains the Remote Desktop protocol (.rdp) information necessary to connect into the Elastic COBOL interactive development environment (IDE) running in the cloud from your desktop or laptop. If you are using Windows and Internet Explorer, IE will ask you if you want to open the "ecobol.rdp" file. Mozilla will ask if you want to open the file with a "Browse..." button to find the application. The Chrome browser will download the file to your Downloads folder. On most Windows system the ".rdp" file type is associated with the Remote Desktop Connection application. Either open, of if downloaded, double-click on the "ecobol.rdp" file (connecting multiple times may result in multiple ecobol.rdp files named "ecobol (1).rdp", "ecobol (2).rdp").
When you click "OK" the Remote Desktop Connection application will verify connection. You can check the "Don't ask me again" checkbox and subsequent connections to the cloud instance you start will not display this dialog.
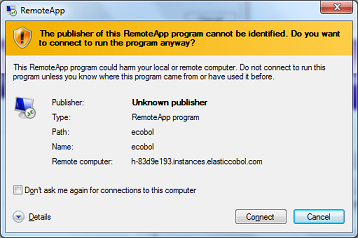
Clicking "Connect" will present you with a login box. Enter your registered Elastic COBOL user id (without the "@domain.com" portion of your e-mail address) and the password you picked when registering. You can click "Remember my credentials" checkbox and RDC will not ask you to supply them when you start up later instances from the portal.

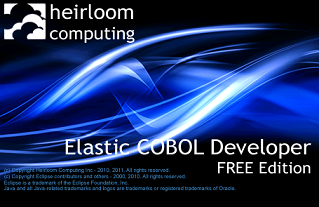
The IDE should appear on your desktop, beginning with the logo.
After Elastic COBOL IDE has started you can open up the "getting started guide" (also available for download from this Support site). You might have to switch to the "Elastic COBOL Perspective" before editing COBOL applications contained in the samples. Click on the "Open Perspective" icon in the upper right corner, then select "Elastic COBOL" from the list.

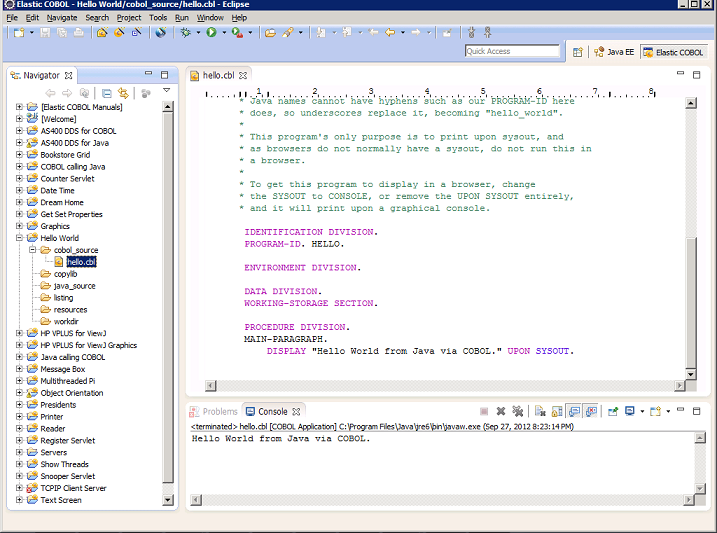
To open a project, for example the COBOL Hello World app, click the "+" next to "Hello", the "+" next to "Cobol Source" then double-click on "Hello.cbl."
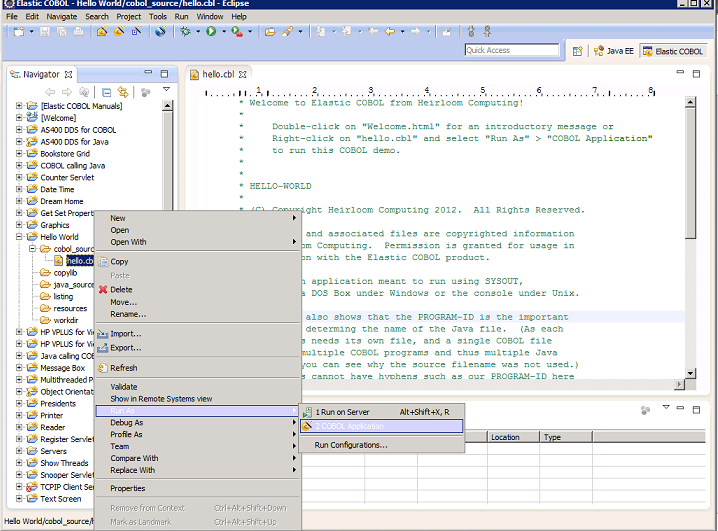
You can run the application by clicking the "Run" button on the toolbar or right-click on the source file "Hello.cbl" and select "Run as ... COBOL Application".
0 Comments